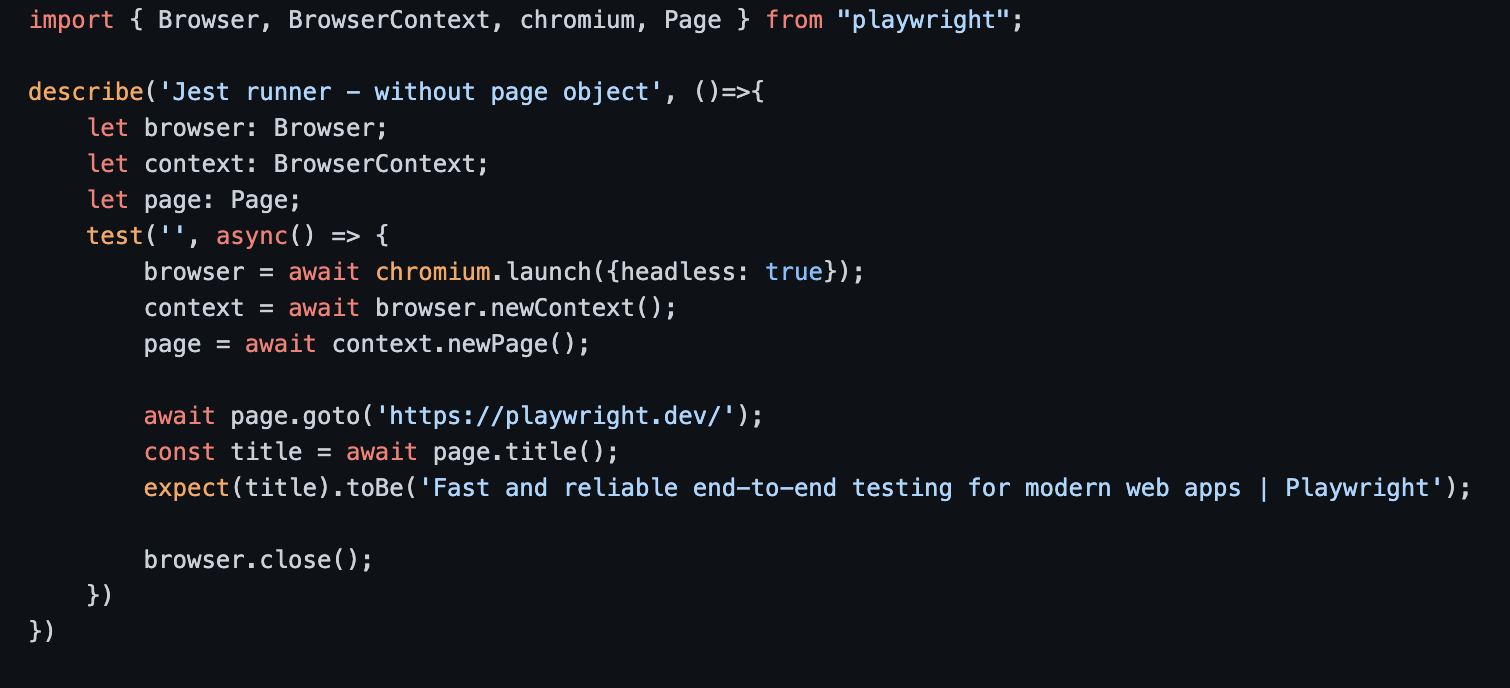
Playwright Test was created specifically to accommodate the
needs of the end-to-end testing. It does everything you
would expect from the regular test runner, and more. Playwright test
allows
to:
Run tests across all browsers.
Execute tests in parallel.
Enjoy context isolation out of the box.
Capture videos, screenshots and other artifacts on failure.
Integrate your POMs as extensible fixtures.
Playwright can be installed and
configured
as
follows:
Open terminal or command prompt and go to your
project
directory. And run
npm init playwright
This will ask for some configurations as
Getting started with writing end-to-end tests with
Playwright:
Initializing project in '.'
1. Do you want to use TypeScript or JavaScript?
…
❯ TypeScript
JavaScript
[Select your option and press ENTER
key]
2. Where to put your end-to-end tests? ›
tests
[Give name and press ENTER
key]
3. Add a GitHub Actions workflow? (Y/n) ›
true
[Press n or y
key, if you want to add Gibhub workflow to
it]
It will show initializing project
Initializing NPM project (npm init -y)…
This will create following files/dir:
                                                                                                                                    node_modules
 package.json
 tests

                                                                                                                                    package-lock.json
 playwright.config.ts
and optionally add
examples, and a first test
example.spec.ts under tests . You can
now
jump directly to writing
code into it.
You can run folllowing command to run your tests
npx playwright test
or
npx playwright test --headed as in headful
mode.
- Run tests across all browsers.
- Execute tests in parallel.
- Enjoy context isolation out of the box.
- Capture videos, screenshots and other artifacts on failure.
- Integrate your POMs as extensible fixtures.

WebdriverIO is a progressive automation framework built to
automate modern web and mobile applications. It simplifies
the interaction with your app and provides a set of plugins that help you
create a scalable, robust and stable test
suite.
WebdriverIO can be installed configured
as
follows:
Open terminal or command prompt and go to your
project
directory. And run
npm init wdio .
This will create package.json (if not
present). And then it will run
WDIO CLI Wizard
and will show
WDIO Configuration Helper.
It will show as follows:
=========================
WDIO Configuration Helper
=========================
1.
Where is your automation backend located? (Use
arrow
keys)
❯ On my local machine
In the cloud using Experitest
In the cloud using Sauce Labs
In the cloud using Browserstack or Testingbot or
LambdaTest
or a different service
I have my own Selenium cloud
[Press ENTER key]
Now, it will ask to select framework as
2.
Which framework do you want to use? (Use arrow keys)
❯ mocha
jasmine
cucumber
Use Up and Down
arrow
keys
to select the desired framework
[Select cucumber and Press
ENTER ]
Now, it will ask to select a compiler as
3.
Do you want to use a compiler? (Use arrow keys)
Babel (https://babeljs.io/)
TypeScript (https://www.typescriptlang.org/)
❯ No!
[Press ENTER key]
Now, it will ask for feature file location
as
4.
Where are your feature files located?
(./features/**/*.feature)
[Press ENTER key OR you can specify
location
for feature file]
Now, it will ask for step-definition file
location
as
5.
Where are your step definitions located?
(./features/step-definitions/steps.js)
[Press ENTER key OR you can specify
location
for feature file]
Now, it will ask to generate some test files
as
6.
Do you want WebdriverIO to autogenerate some test
files?
(Y/n)
[Press n and then ENTER
key]
Now, it will ask to confiture the reporter as
7.
Which reporter do you want to use? (Press space to
select, a to toggle all, i to invert selection)
❯◉ spec
◯ dot
◯ junit
◯ allure
◯ sumologic
◯ concise
◯ reportportal
[Press ENTER key]
Now, it will ask to install a plugin as
8.
Do you want to add a plugin to your test setup?
(Press
space to select, a
to toggle all, i to invert selection)
❯◯ wait-for
◯ angular-component-harnesses
[Press ENTER key]
Now, it will ask to add a service to the setup
as
9.
Do you want to add a service to your test setup?
(Press
space to select, a to toggle all, i to invert
selection)
❯◉ chromedriver
◯ sauce
◯ testingbot
◯ selenium-standalone
◯ devtools
◯ browserstack
◯ appium
[Press ENTER key]
Finally, it will ask to add url as
10.
What is the base url? (http://localhost)
[Enter the url and Press ENTER
key]
Now it will add all dependencies to the
setup
- Easy to Set up: WebdriverIO follows a simple setup process. Just install node packages using npm and start testing
- Customization: WebdriverIO is highly extendable so users can customize the framework as they need
- Cross Browser Testing: WebdriverIO supports multiple browsers such as Chrome, Edge, Firefox, Internet Explorer, and Safari.
- Native Mobile Application Testing: WebdriverIO framework can be extended to test native mobile applications. Cross-Origin Support: WebdriverIO doesn’t restrict origins. Origin doesn’t matter much as testers can automate them unconditionally.
- Multiple Tab/Window Support: WebdriverIO Supports switching to and from multiple windows and tabs.
- iFrame Support: WebdriverIO doesn’t restrict in terms of iFrame. Testers can automate iframe-based scenarios using simple web driver commands.
- Reporters: WebdriverIO supports more than dozens of reporters.
- Testing Framework/Assertions: WebdriverIO supports Mocha, Jasmine, and Cucumber test frameworks.
- Parallel Testing: Testers can configure WebdriverIO to launch multiple instances and execute tests parallelly.
- Screenshots: WebdriverIO can be configured to take screenshots of tests.
- Video: Though WebdriverIO doesn’t support video recording out of the box it can be configured to do so.
- Pipeline Integration: WebdriverIO tests can be integrated into CI Systems like Jenkins, Azure, etc.
- Selectors: It supports various types of selectors including CSS and Xpath.
- Page Object Pattern: WebdriverIO Framework can be easily configured to Page Object Model.
- File Upload and Download: WebdriverIO supports File Upload and Download features.
- Selenium Limitation Still Exists: WebdriverIO is a custom implementation of Selenium. So, any challenges testers face with Selenium apply to WebdriverIO.
- Confusing Syntax: Though WebdriverIO is a Javascript-based framework, the syntax can be confusing for beginners.
- Network Interception: Network control / Network interception is challenging in Webdriver.
- Typescript Integration: WebdriverIO supports Typescript, but the setup is usually time-consuming.
- Documentation: Some parts of WebdriverIO documentation can seem obtuse and confusing for beginners.
Appium server is out of scope of the actual
WebdriverIO project. This service helps you to run the Appium
server seamlessly when running tests with the WDIO testrunner. It starts the
Appium Server in a child process.
WebdriverIO can be installed configured
same as for webdriver installation (as mentioned
above), only need to change the appium installation
as follows
Open terminal or command prompt and go to your
project
directory. And run
npm init wdio .
Now, it will ask to add a service to the setup
as
9.
Do you want to add a service to your test setup?
(Press
space to select, a to toggle all, i to invert
selection)
❯◉ chromedriver
◯ sauce
◯ testingbot
◯ selenium-standalone
◯ devtools
◯ browserstack
◯ appium
Select appium and [Press
ENTER key]
Now it will add all dependencies to the
setup
Cypress consists of a free, open source, locally installed Test
Runner and a Dashboard Service for recording your tests.
First: Cypress helps you set up and start writing tests every day while you
build your application locally. TDD at its
best!
Later: After building up a suite of tests and integrating Cypress with your
CI Provider, our Dashboard Service can
record your test runs. You'll never have to wonder: Why did this fail?
Cypress can be installed configured as
follows:
Open terminal or command prompt and go to your
project
directory. And run
npm install cypress
This will do setup of Cypress for you.
This will create following files/dir:
                                                                        cypress
 node_modules

                                                                        cypress.json
 package-lock.json
There are two ways, you can run cypress.
First
by
opening
it into the browser and then can run specific test
or
suite. This will load default installed
spec files.
Run npx cypress open, this will open it.

Second, you can configure script into
package.json and then can run it using
npm, you can run all specs or specific
spec
using
npx cypress run --spec 'cypress/integration/firstTest.spec.js'
- Easy to Set Up: Cypress is easy to set up. Simply install Cypress node packages and start testing.
- Debugging: Cypress provides various ways to debug and analyze the test scripts. Cypress provides debuggability features like readable stack trace, console logs, pause test, and browser developer tools control.
- Multi-Level Testing: Cypress is not limited to browser-based end-to-end testing flows. It also supports unit testing, integration testing, and API testing.
- Screenshots: Cypress provides the option to take screenshots of tests as a configurable option. The screenshot option is available for both headful and headless mode.
- Video recording: Testers can record the test on video and replay it to see how their tests are executed.
- Auto Wait: Cypress automatically waits for elements to load before executing commands and assertions. Testers usually do not need to specify additional waits.
- Spies, Stubs, and Clocks: Cypress provides the feature to verify, analyze and control server responses, timers, and functions.
- Network Control: With Cypress, testers can stub network traffic as needed which helps to test edge case scenarios.
- Stable Results: Unlike other frameworks, Cypress executes commands directly within the browser window, which provides more control and leads to more consistent test results.
- Faster Execution: Cypress executes commands directly within the browser so it’s faster compared to the Selenium-based framework. However, this depends on application performance as well.
- Interactive Window: In headed mode, Cypress executes tests in the interactive window and captures screenshots after the execution of each command. So after execution, testers can navigate to executed commands and check what has happened in every test.
- Cross-browser support: Cypress Supports Chromium-based browsers like Edge, Chrome, Electron, and Firefox.
- Community Support: Cypress is bolstered by robust community support.
- Learning and Documentation: Cypress provides good documentation so anyone aware of JavaScript can learn and implement the framework.
- Cypress Dashboard: Cypress offers a commercial solution that offers an in-depth analysis of tests in a single dashboard.
- Cross-Origin Restriction: Cypress doesn’t allow multiple origin website navigations within a single test.
- Multi-Tab/Window Restriction: Cypress doesn’t support testing multiple tabs or windows. That means testers cannot switch to and from one window to another.
- iFrame Support: Automating iFrame based scenarios using Cypress is challenging.
- Locators: While Cypress supports CSS selectors, it doesn’t come with Xpath locator support. Testers need to rely on an additional plugin to use Xpath.
- Assertion Libraries: Cypress comes with only Mocha, Chai assertion libraries.
- Auto waiting: Though Cypress claims it automatically waits for elements, there are cases where it doesn’t work.
- Async/await: If you use async/await for your Cypress test it might behave unexpectedly.
- Browser Support: Currently Cypress supports only Chromium Family and Firefox. So testers cannot use Cypress to test other browsers like Safari.
- Single Sessions: Testers can’t use multiple sessions or open multiple instances in Cypress.
- CI/CD integration: If testers are using third-party hosted agents for Cypress pipeline execution, the installation of Cypress itself will take a considerable amount of time.
- Page Object Pattern: Page Object Pattern is not encouraged by Cypress even though it is still achievable with some customization.
- File upload and download: File upload and download is a pain in Cypress. Testers often need to rely on third-party packages to make it easy.
https://www.browserstack.com/guide/cypress-vs-webdriverio

Selenium 4 has now been officially released! In the
new release, there have been changes made to the highly anticipated feature,
Relative Locators, where the returned
elements are now sorted by proximity to make the results more deterministic.
Selenium 4 (Alpha 3) version is now
launched in the
market.
As we all know the founder of Selenium is “Simon
Stewart”
and now he has introduced the new version not only for
web
drivers but also for Grid and IDE.
Selenium 4 adopted the W3C standard Web
Driver Protocol.
All
the browsers like Google Chrome, Safari, Internet
Explorer,
Edge, and many more also follow the W3C standard due to
which interaction between browser driver and Selenium
Web
Driver
will now be based on W3C standard web driver protocol.

For more new features, please follow
Selenium 4
